Image Compression Test Results: Quality 60, 70, 80 and WebP
Compare published WebP output files at quality 60, 70, and 80 using fixed images for photo, text screenshot, and transparent graphic review.
Image quality cannot be chosen by a number alone. Texture, small text, and transparent edges reveal compression artifacts at different points. This page records file sizes and review criteria for quality 60, 70, and 80 using PixelZipKit's fixed benchmark assets and published WebP output files.
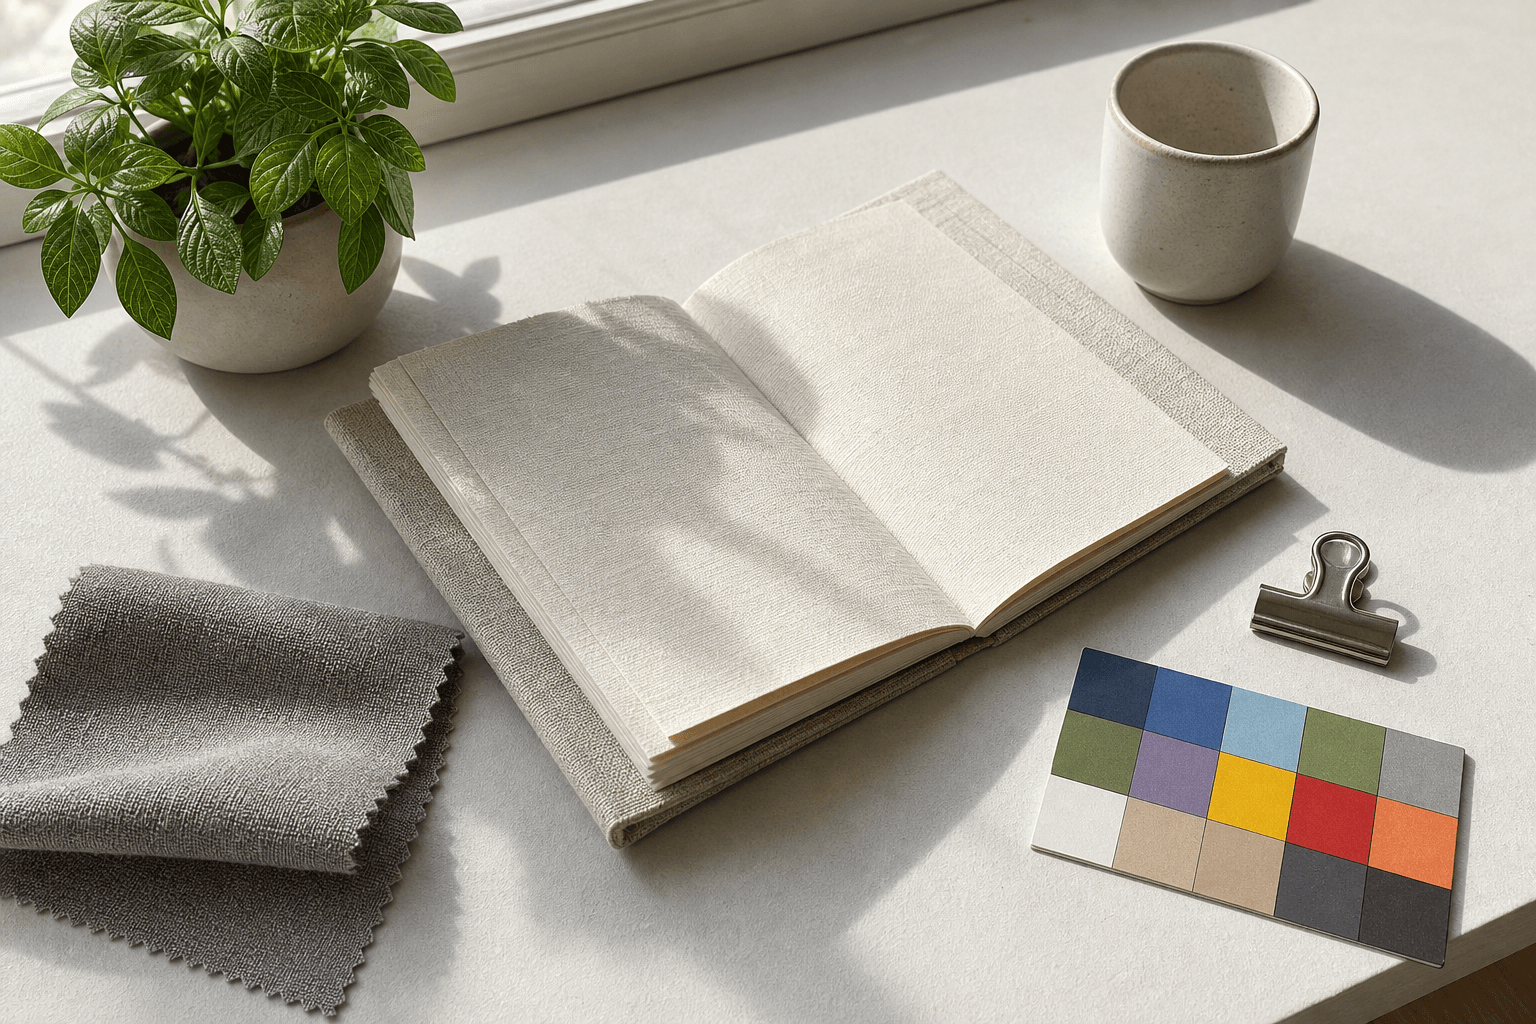
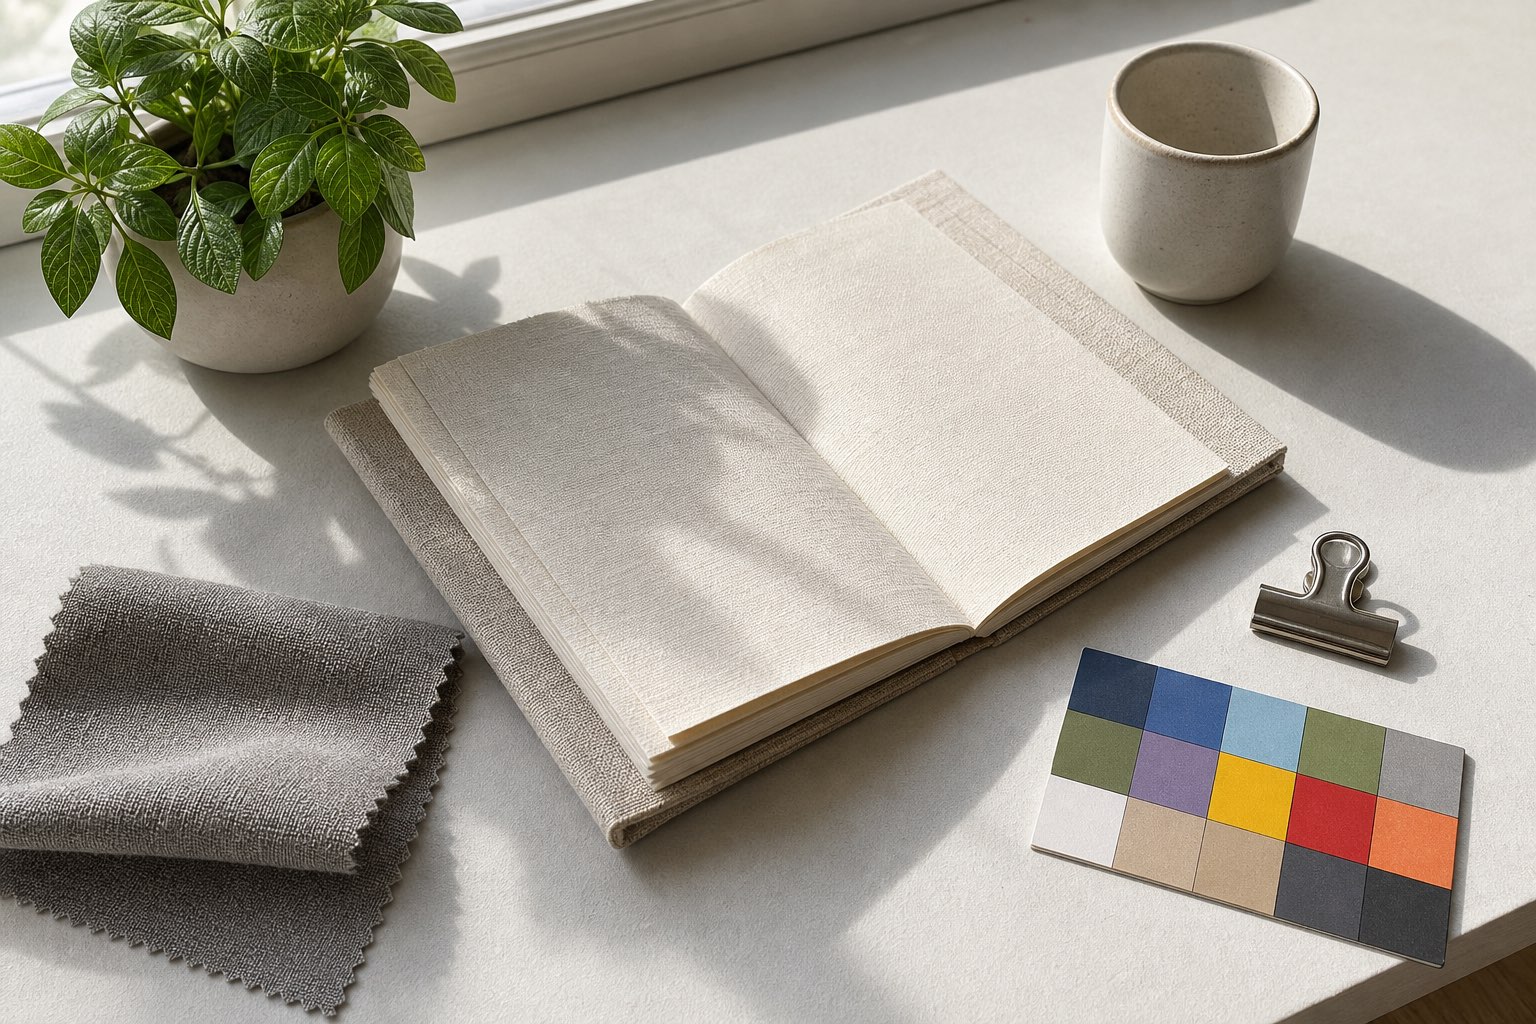
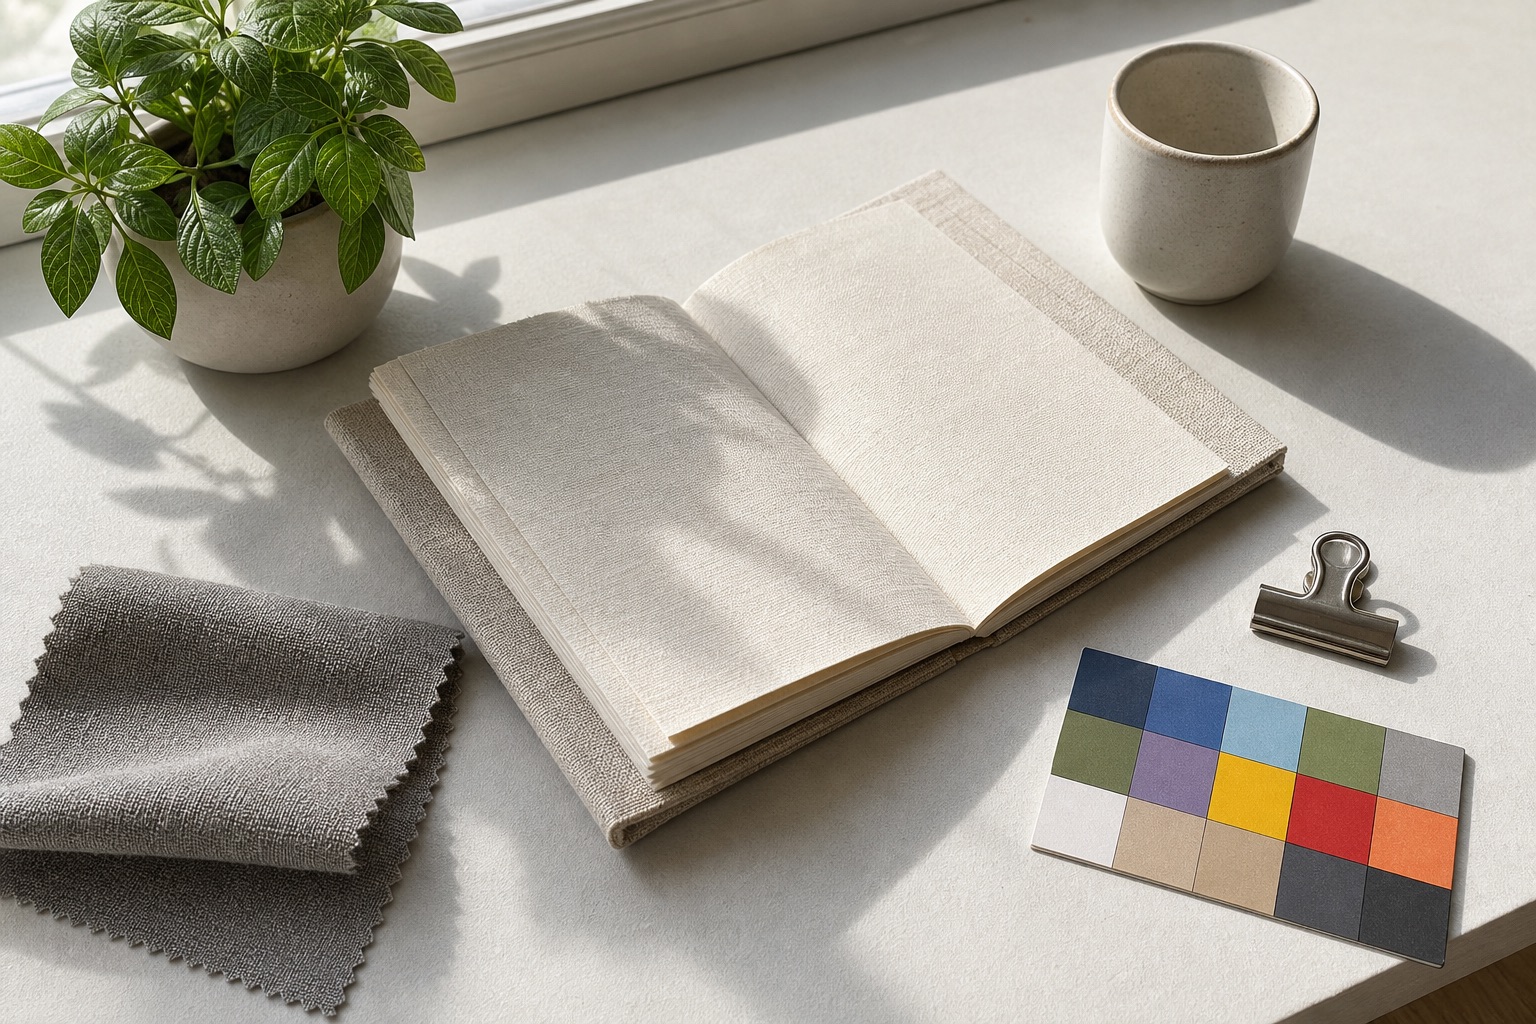
The public test set includes a photo, a UI screenshot, a transparent graphic, and a photographic asset with linen fibers, leaf veins, shadows, and color blocks. The screenshot checks small type and thin borders, while the transparent graphic checks alpha preservation and edge quality. No user-uploaded images or customer files were used in this benchmark.
Quality 60 creates the smallest files, but publishing purpose matters more than file size alone. Thumbnails can begin at 60, while product photos and portfolio hero images are safer at 80. WebP output varies by browser and source asset, so destination compatibility and the measured result still need to be checked.
- Benchmark inputs are fixed, non-user test assets.
- Review photo texture, screenshot text, and transparent graphic edges separately.
- Start at quality 80, then compare 70 or 60 for the publishing context.
- Check platform compatibility before choosing WebP.
- Real results vary by source image and browser environment.
What to check here
Plain-language summary
A quality number is not a universal answer. Quality 80 can behave differently on a photo, screenshot, or transparent graphic. This page gives visitors real files and measurements to compare.
Business rule
Image optimization standards should be based on publishing context, image role, platform compatibility, and visual review criteria, not file size alone.
- Size differences at quality 60, 70, and 80
- Failure points in screenshots and transparent assets
- Starting quality for products, blogs, and thumbnails
WebP file sizes and review criteria from the same source files
These are recorded results for the fixed source and output files published on this page, not values calculated only after this page loads. Anyone can download and compare the files.
WebP measured: 2026-06-22. JPEG measured: 2026-06-23. WebP results use the Browser Canvas WebP encoder; JPEG results use the macOS Image I/O JPEG encoder. PixelZipKit-owned fixed test assets; no user uploads or customer files. The photo source is a 1536 x 1024 PNG.
Editorial review update: 2026-07-14. Measurement files remain stable, while use-case decision rules and core-guide links have been strengthened.
View compression test methodologyDownload the photo source


Use-case savings estimates
The table below applies the fixed-file measurements to common multi-image publishing situations. Real files and browser encoders vary, but these estimates show the scale of savings for blogs, product grids, and email attachments.
| Use case | Setting | Original total | Output total | Reduction | Review rule |
|---|---|---|---|---|---|
| 8 blog body photos | WebP quality 80 | 22.14 MB | 1.64 MB | 92.6% | Keeps leaves, shadows, and texture safer for ordinary article photos |
| 8 mobile-first body photos | WebP quality 70 | 22.14 MB | 1.28 MB | 94.2% | Prioritizes size reduction for images that are not inspected at large size |
| 24 product grid thumbnails | WebP quality 60 | 66.41 MB | 3.4 MB | 94.9% | Reduces full grid weight while requiring edge and color review |
| 6 product detail or portfolio images | JPEG quality 80 | 19.92 MB | 3.31 MB | 83.4% | Preserves trust details such as color blocks, linen texture, and shadow edges |
| 10 email attachment photos | JPEG quality 80 | 33.2 MB | 5.51 MB | 83.4% | Creates viewing copies that are easier for recipients to open |
| 12 text-heavy screenshots | WebP quality 80 | 637.2 KB | 374.5 KB | 41.2% | Prioritizes readability of small type and thin lines over maximum reduction |
Additional photographic asset: JPEG quality 60 and 80
This source is a public synthetic test asset created for PixelZipKit. It includes no people, customer images, or trademarks, and the source plus both outputs can be downloaded for direct comparison.
| JPEG quality | Output file | Reduction | Review point |
|---|---|---|---|
| 60 | 374.7 KB | 89.0% | Linen fibers and leaf veins |
| 80 | 564.2 KB | 83.4% | Color blocks and shadow transitions |
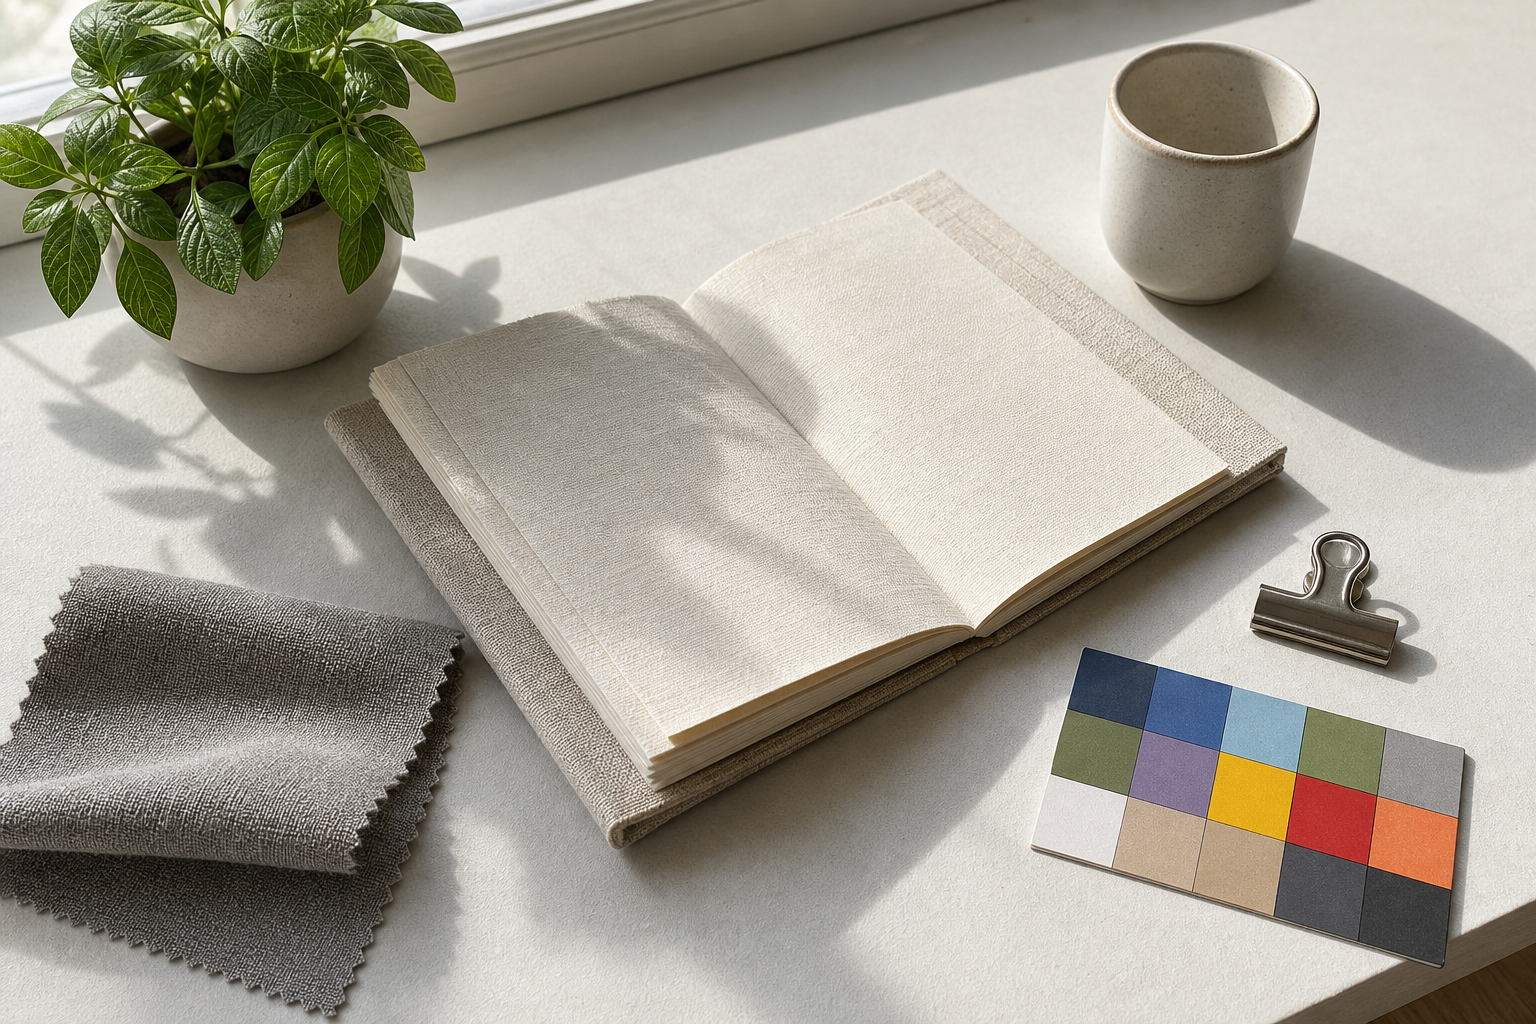
| Photo quality | Output file | Reduction | Inspect directly |
|---|---|---|---|
| 60 | 145.2 KB | 94.9% | Thumbnail text and leaf detail |
| 70 | 164.2 KB | 94.2% | Body-photo texture and shadows |
| 80 | 209.9 KB | 92.6% | Product labels and hero images |



Supporting assets: quality 80 results
UI screenshot: 31.2 KB (41.2% reduction). Transparent graphic: 7.3 KB (24.5% reduction).
These results are not a universal quality guarantee. Output varies with the source format, image content, and browser encoder, so use this as a starting point and compare important files at full size.